Knowing how to use inkFrog's template editor is great, but it can also be overwhelming just to browse through the sheer number of designer templates that inkFrog offers, and to see how many elements each of them contains.
If you've thought about using inkFrog's designer templates, maybe even have one that you like picked out, but you just don't know where to start, this post is for you. Here are five key things to change as you customize templates for your own listings.
1. Your Logo
Most inkFrog templates have a space for your company or store logo, usually just marked "YOUR LOGO" until you insert your own in its place. When you open a template for editing, start by clicking on "YOUR LOGO" and replacing it with your own.
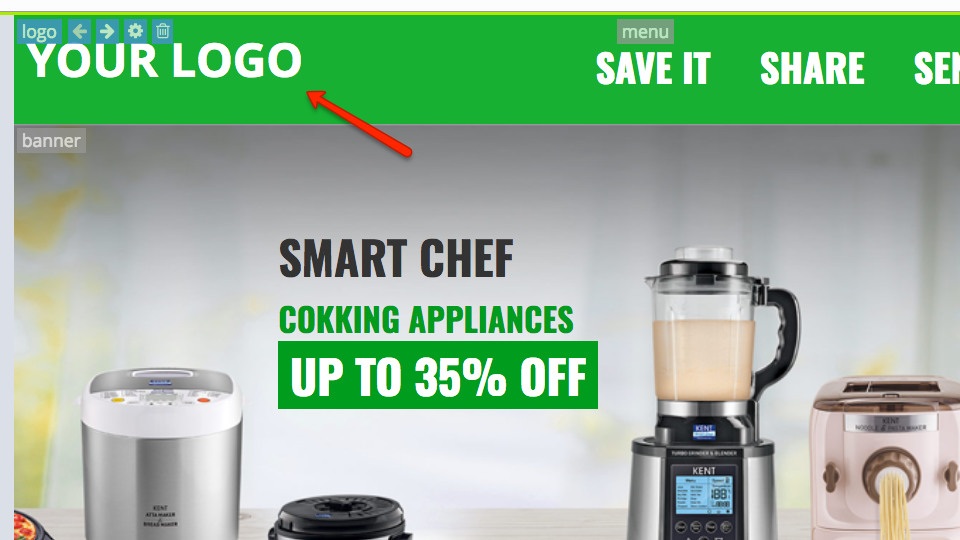
Start your customization by adding your own logo to the template.
2. Header Links
Across the top of many templates are a series of phrases like "SAVE IT" or "SHARE." These links are placeholders to indicate that you can replace them with other links that you'd like your buyers to have ready access to.
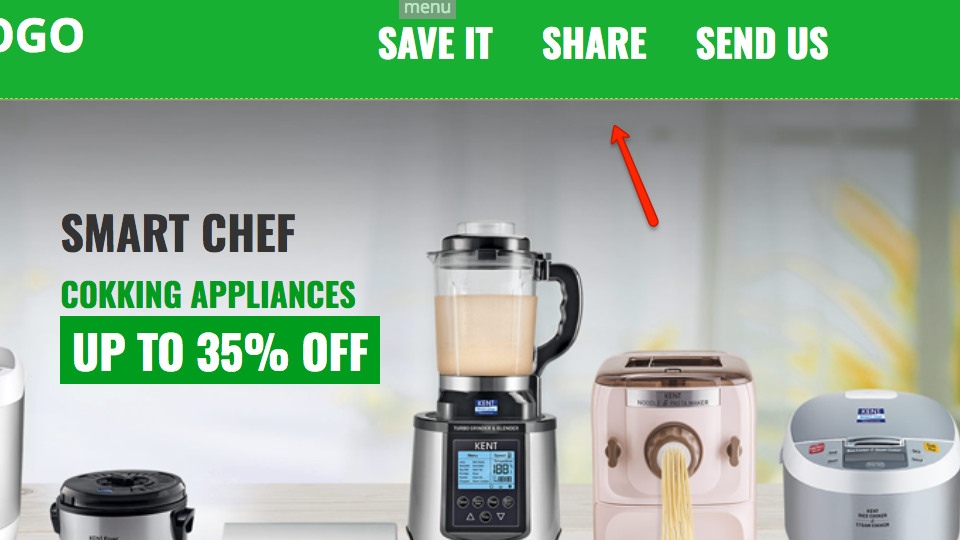
Edit the header items and add links to them.
Remember that you can not link to your own sales website, as this is against eBay rules, but you can otherwise edit each link to have any text (or image) and designation that you like. Here are some ideas to get started with:
Link to seasonal or sale categories in your store
Link to eBay's message system to make it easy for shoppers to contact you on eBay. Replace "<EBAYID>" with your eBay seller ID in this link:
https://www.ebay.com/contact/sendmsg?recipient=<EBAYID>Link to social media sharing tools, to make it easy for someone to share your eBay store. Replace
with the address of your eBay store in these links for Facebook, Twitter, and Pinterest:
http://twitter.com/share?url=<STOREURL>
http://www.facebook.com/sharer/sharer.php?u=<STOREURL>
http://pinterest.com/pinthis?url=<STOREURL>
You'll also find other ideas in the template editor, by clicking "TEXT" on the left side of the editor window, then "Store Links" → "Button Order" to view several commonly used links that you can either use in your header or add as a block.
Of course, all of these are just basic ideas—the point is that you have space across the top of your template to link to anything that falls within eBay rules, so use your imagination and cleverness skills to make use of it.
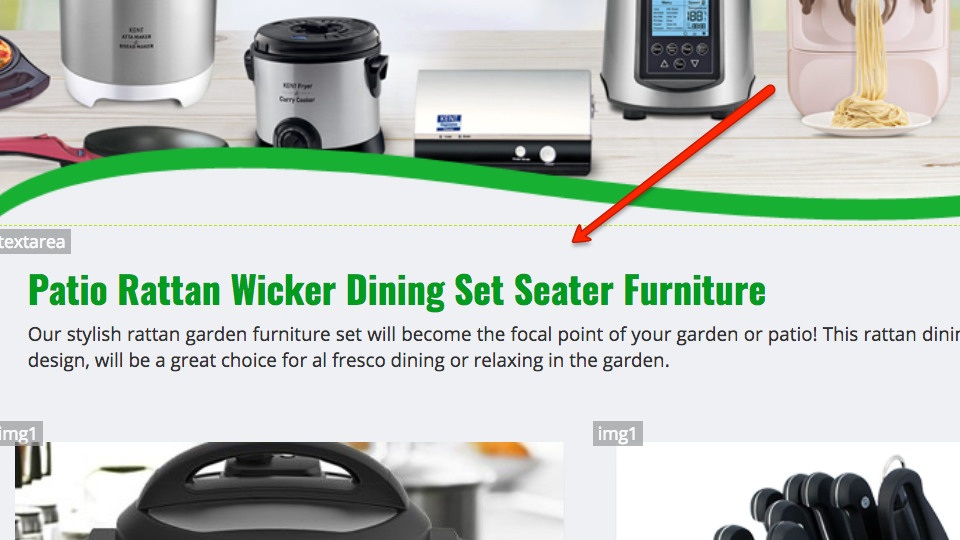
3. The "Hero" Image, Text, and Listing Images
"Hero" is just another word for "the first, biggest area that visitors see when they open your listing." In most templates, this will be a large image and a brief amount of text, usually indicating an ongoing promotion or something about your business.

Make the large image and text in the hero area (if present) your own.
Use this area to feature an image of your entire product line, or of someone taking joy in using one of your products, or in your business, or to show seasonal products.
Use the text to either promote your company briefly in general, or to name current offers, promotions, or the things that differentiate you from your competitors ("Always Free Shipping!" or "Celebrating 25 Years!" or similar).
Watch out for areas of the template that use large images for your listing images. Don't edit these, because they're to be replaced by images from your eBay listings. You'll know because listing image areas won't have any text overlaying the image(s).
4. Item Title and Description Styling
Use the controls on the right side of the editor window (not the controls that appear when you double-click) to change the styling for the item title and description in your listing template.
The most common change here is to alter the typeface, size, or color of the listing title, but use your imagination.
Change the styling of the item title and description to suit your tastes.
5. Listing Images and Image Links
At the bottom of most templates are a grid of images and labels that don't automatically populate with images from your listing(s). These areas are for you to use.
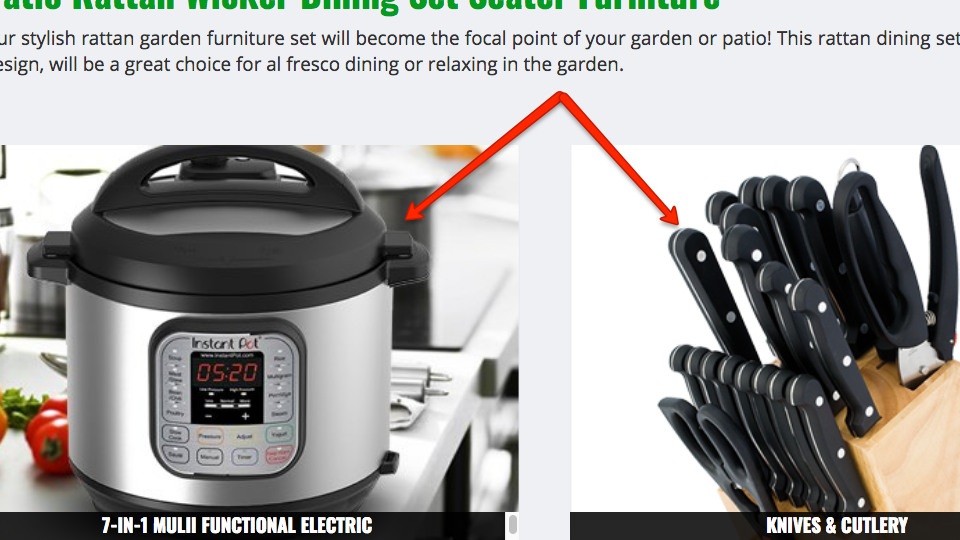
Get the images in the grid at the bottom of the template working for you.
Edit these to showcase and link to your most popular products, your most important store categories, or accessories that you also sell that buyers may be interested in.
Don't Forget to Preview
Once you're done using the editor to customize your listing template, remember to preview it to ensure that it works before actually using a template live on eBay.
To preview a template with one of your listings, open the listing in your listing library, scroll down and select the template that you'd like to use, and then click the "Preview" button.
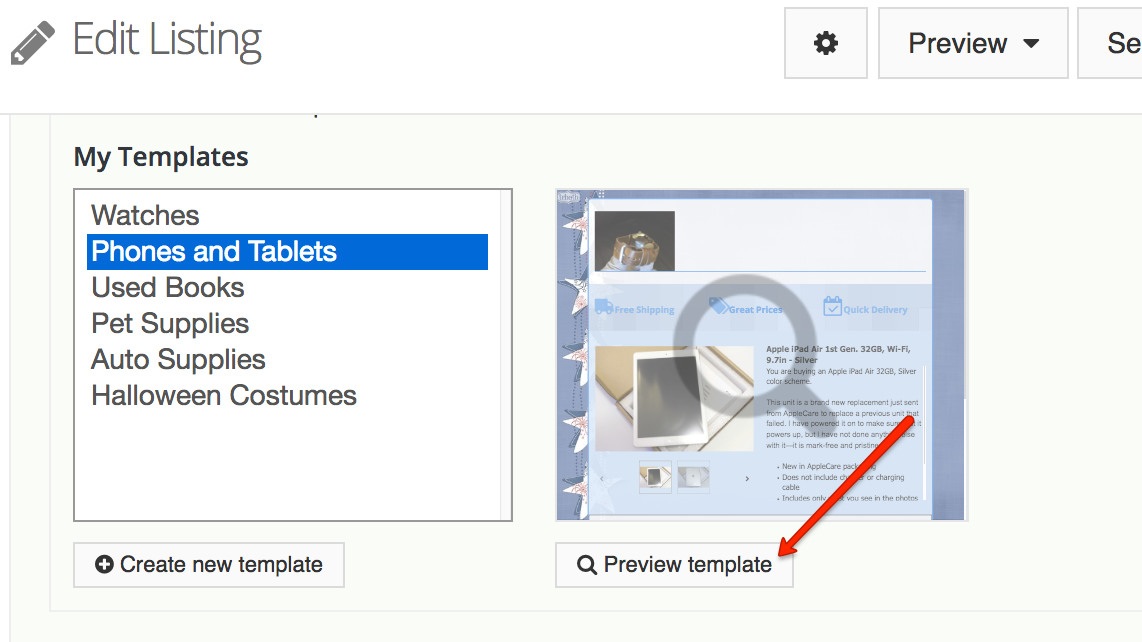
Preview your customizations before submitting actual listings using your new template.
If the preview looks good, you're all set—start publishing listings to eBay with your new, customized template. Don't have inkFrog? Don't worry, just try it now!
Share this article:


Join the Newsletter
Get started for free today!
Try it free
Join the 200,000+
using inkFrog!