If you've used inkFrog for any length of time, you've probably discovered that you can quickly and easily print invoices and address labels when viewing any order in the "Sold (orders)" category in the "Listings" area of your inkFrog account.
(If you hadn't yet discovered this feature, go open one of your past orders now and look for the printer icon at the upper right of the page.)
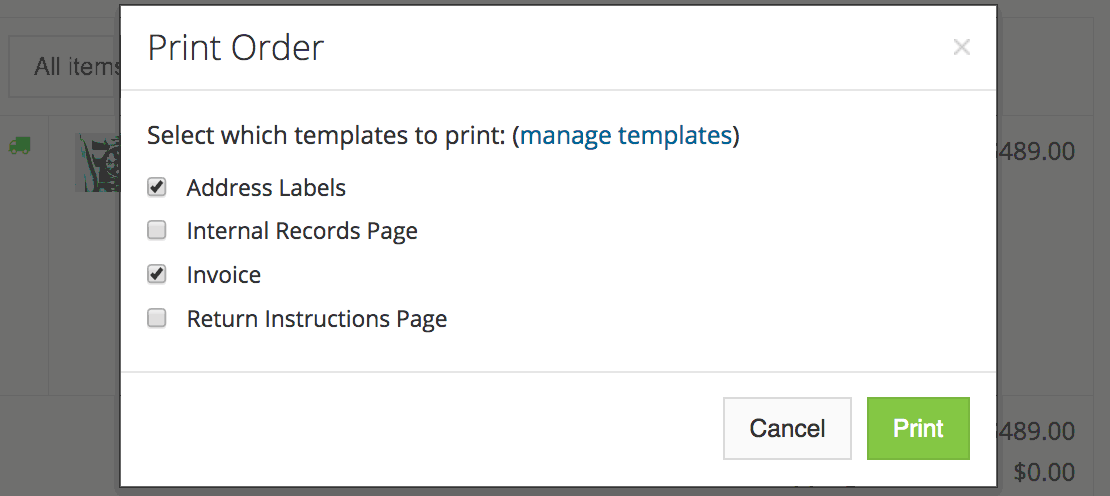
By default, when you click the printer icon for an order, you can opt to print address labels for the order, an invoice for the order, or both.
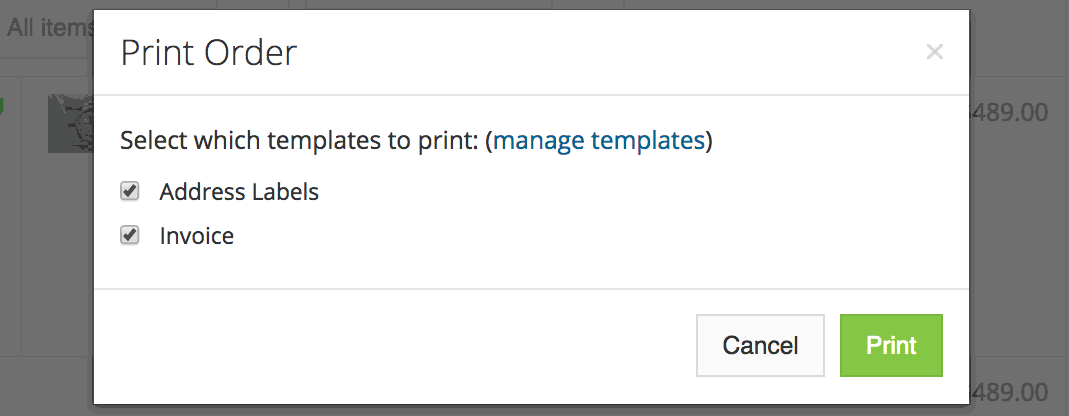
Click the print icon while viewing an order to print order-related documents. You can customize these.
Did you know that you can customize both this list, and what each item in the list prints? This can make your record-keeping and fulfillment workflow far easier to accomplish. Let's take a closer look.
Adding a Logo to Your Invoice Template
Let's take a look at one of the most commonly desired changes for inkFrog print templates: adding your company logon to the invoice template, so that when you print invoices, they're branded. Let's get your logo into your print template.
Start by uploading your logo image to your inkFrog images area.
First, we need to get your logo into inkFrog. Follow these steps:
Find a copy of your logo saved as an image on your computer.
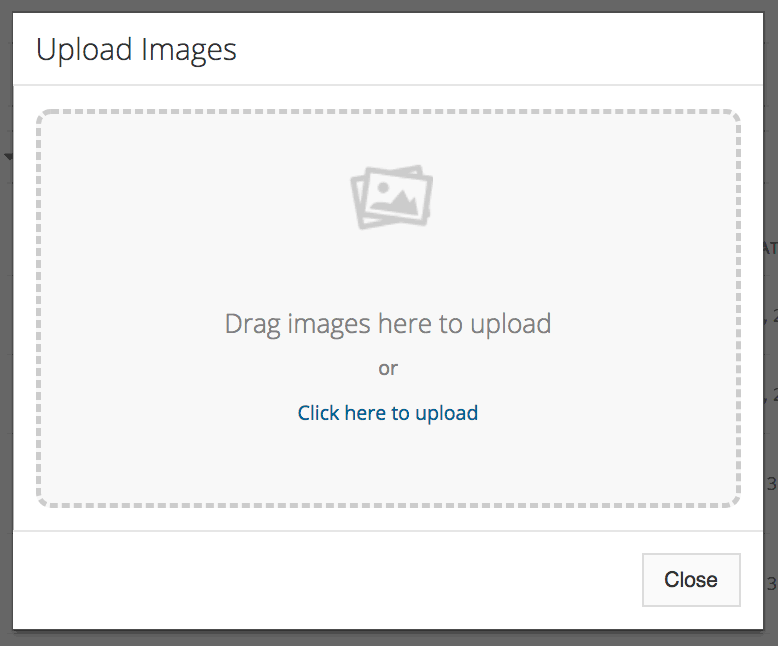
Click "Images" in the right sidebar, then "Upload" to upload a new image.
Either drag your image file into the pop-up window or select "Click here to upload" in the window, then upload your image.
Now your logo is in inkFrog, but we need to take one more step before we head over to your print templates to change them—we need to get the web address of the image. Follow these steps:
Still in the images area, click on the thumbnail of the logo image you just uploaded.
When you see the large version of the image pop up, right click on it.
Chose "Copy Image Address" (in Chrome and Safari) or "Copy Image Location" (in Firefox) to get the image's web address. We'll paste the address somewhere else in just a few seconds.
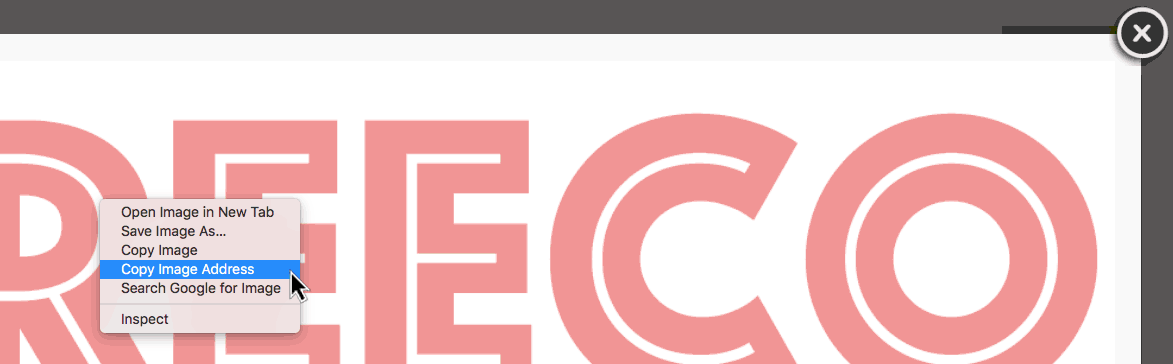
Preview your image, then right click and choose "Copy Image Location" to get its web address.
Now let's head over to the print template editor and open your invoice template to customize it. Follow these steps:
Click "Settings" →"Print templates" in your inkFrog account.
When you see the list of templates, click the pencil icon ("Edit Template") to the far right of the word "Invoice" to open your invoice template for editing.
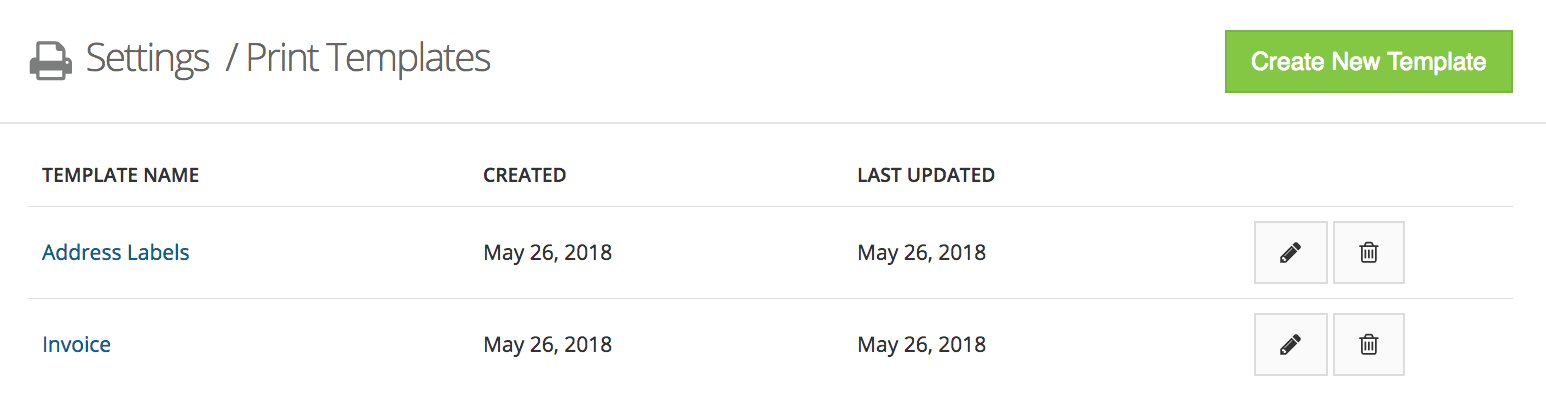
You'll see a list of your print templates. Click the pencil icon to edit a template.
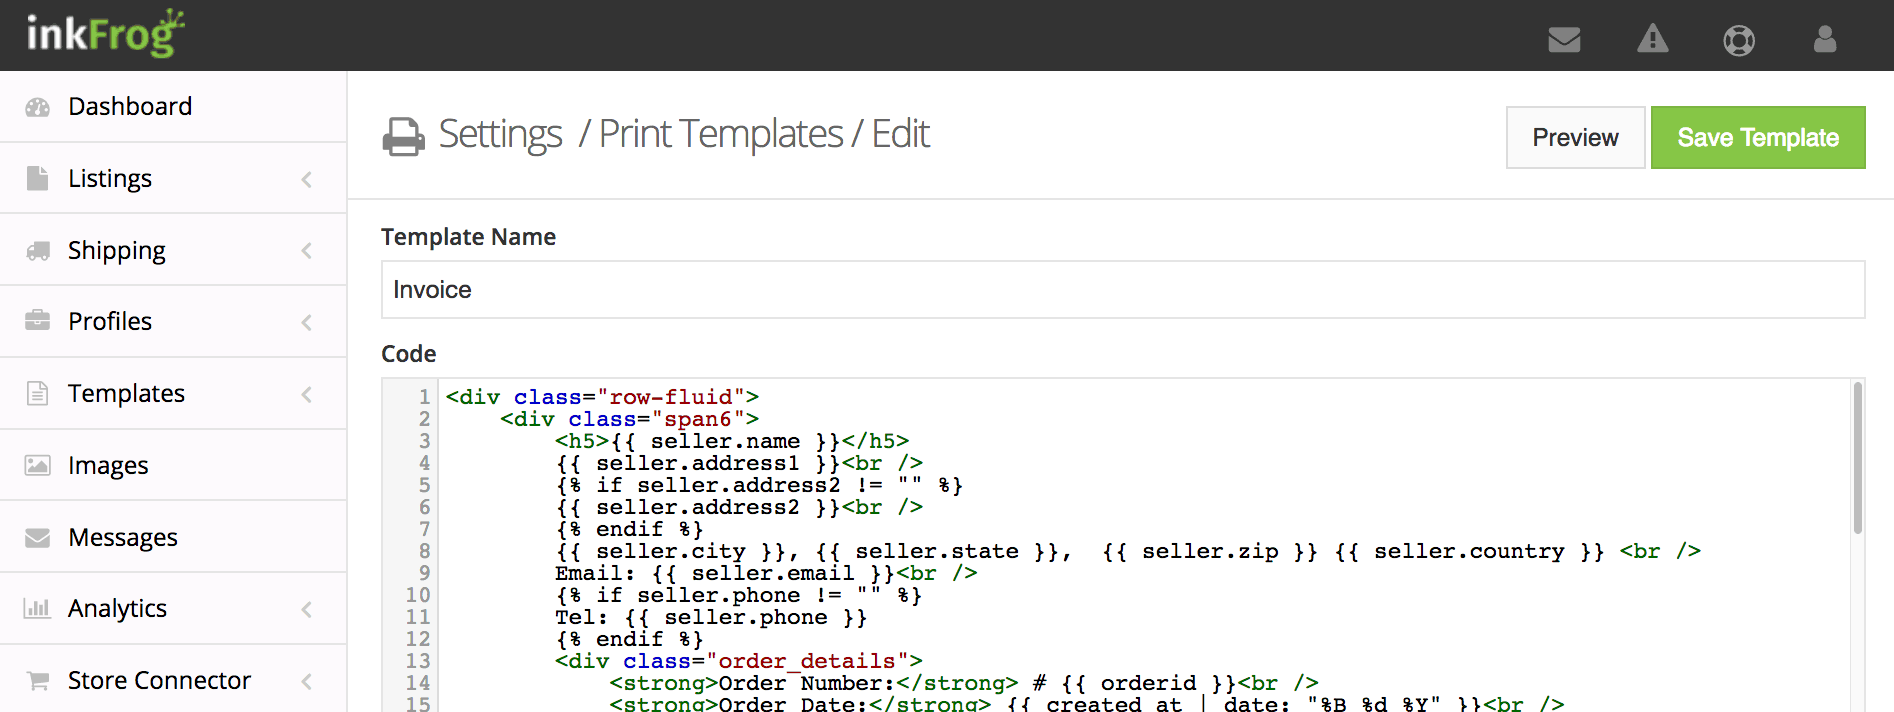
You should now see the HTML code for your invoice print template, ready for you to edit. Not an HTML expert? Don't worry. All we need to do is add a single line to your template. Follow these steps:
Click in the editor and position your cursor at the very beginning—the first position on the first line.
Press enter to add a blank line, move back up to the new blank line using your arrow keys, and insert the following text:
<img src="" height="50">Now position your cursor in between the two consecutive quotation marks, and paste in the web address of the image that you copied previously.
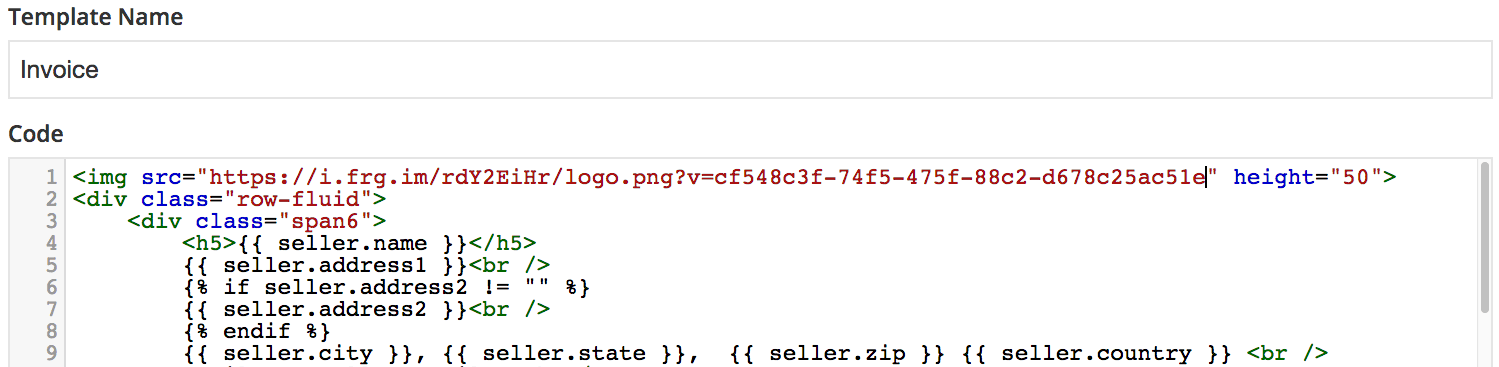
Add the first line to the top of your template, pasting your logo's web address between the quotes.
And you're done! To see what your invoices will look like with your company logo at the top, click the "Preview" button at the upper-right of the editor view.
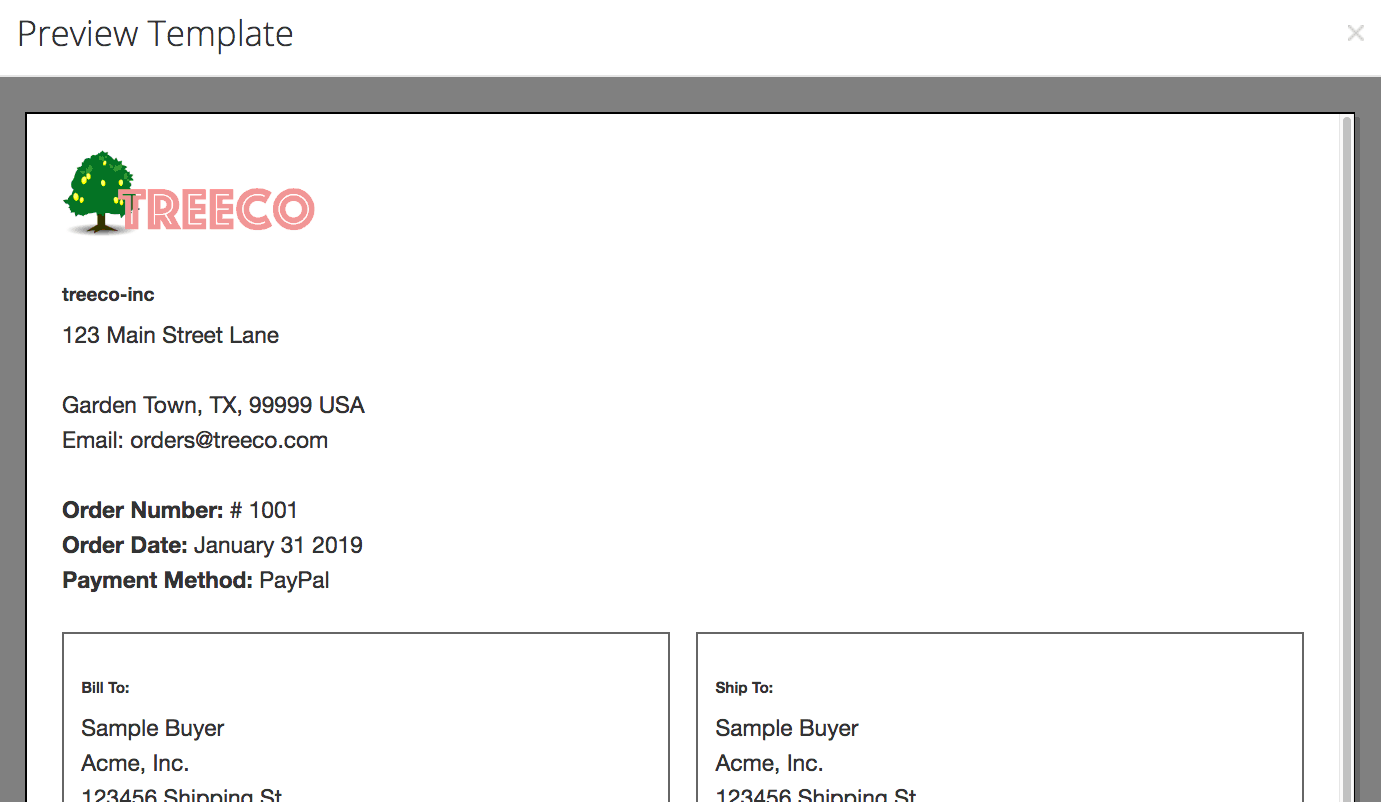
If all went as planned, you now see your business logo when you preview your template.
If you like what you see, click "Save Template" to save your changes, after which your logo will always appear on the page when you print templates.
Customizing the HTML Code
If you know something about HTML, the gears in your head are probably now turning rather quickly.
What other things about the templates can you customize?
We won't go over how the templates are put together in-depth, but as someone who's familiar with HTML, a quick scan through the template will probably show you that in fact it's mostly quite standard HTML code, with a few fields pulled in for things like seller name and address, order ID number, and so on.
Follow your nose to edit and style the HTML, while making use of the same fields, and you can achieve all kinds of interesting customizations.
If you know HTML, you'll feel right at home making bigger changes to your templates.
Just one key suggestion—if you plan to make significant changes to a print template, do it in a new template, so that if you make a mistake or don't like the effect, you still have your standard templates to fall back on.
Creating New Print Templates
Of course, that raises a key question—how do you create an entirely new template? In fact, it's startlingly easy. Follow these steps:
Click "Settings" →"Print templates" to return to the list of print templates.
Click "Create New Template" at the upper right to create a new, blank print template.
Enter a name for your new template in the "Template Name" box.
Type the HTML for your template in the "Code" editor box.
You can use inkFrog's default templates as a guide for how to add commonly used data fields to the print output in your template.
Use "Preview" as you work on your template to ensure that you get it looking just right, and when you're done, click "Save Template" to save it.
The print templates you create are available to you when you print your orders.
The next time you click the print button when viewing one of your orders, your new print template will be available to you. It's that easy!
Share this article:


Join the Newsletter
Get started for free today!
Try it free
Join the 200,000+
using inkFrog!