Many eBay sellers use multiple seller accounts to help them to market products and brands separately and to manage seller policies, inventory levels, and other details effectively on eBay.
If this is you, you've probably discovered that eBay doesn't offer a way to move listings from one eBay account to another. If you have an inkFrog Professional, Unlimited, or Designer account, on the other hand, the process is easy.
Here's how to do it.
Link Your eBay Account(s) to inkFrog
Inside inkFrog, click "Settings" → "eBay Accounts" to list the accounts currently you've already linked. If you need to link additional account(s) to inkFrog, click "Add eBay Account" and follow the steps provided to link each additional eBay account.
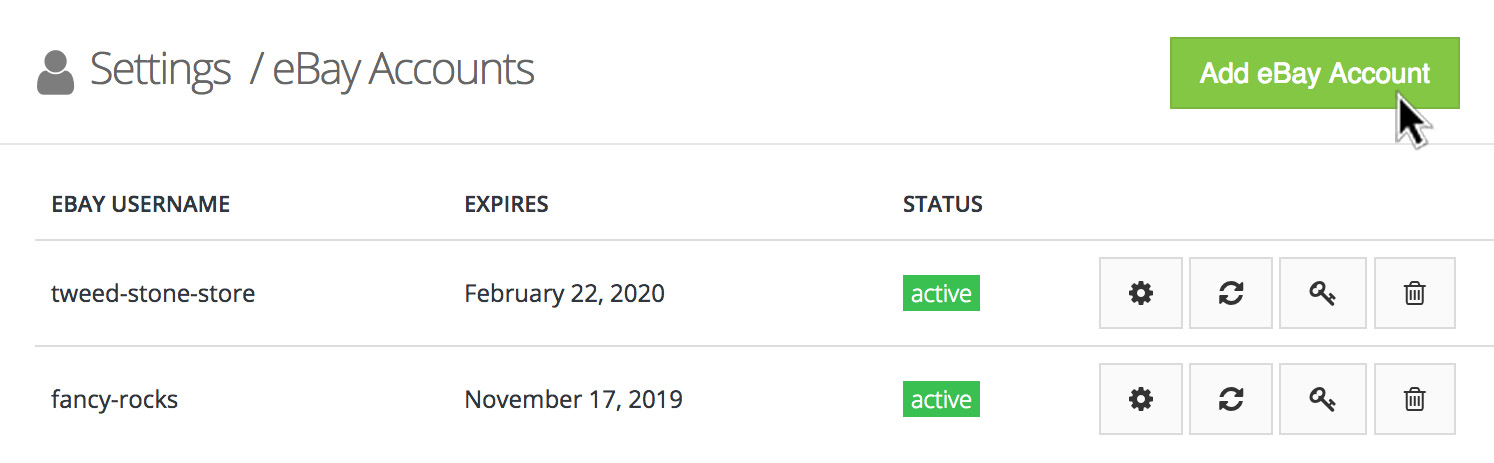
Find and add linked eBay accounts at "Settings" → "eBay Accounts" inside inkFrog.
Listings will automatically be imported from each eBay account you've linked to inkFrog, and you'll have access to all of them inside your listing library.
View the Listings That Need to be Moved
If you have lots of listings, scrolling through the long list in your listing library to identify which listings need to be moved can be painful.
Happily, you can filter your listing library view to show listings in a variety of ways, including by eBay account. To do this, click "Filter Listings" then select "eBay Account" and the eBay account whose listings need to be moved.
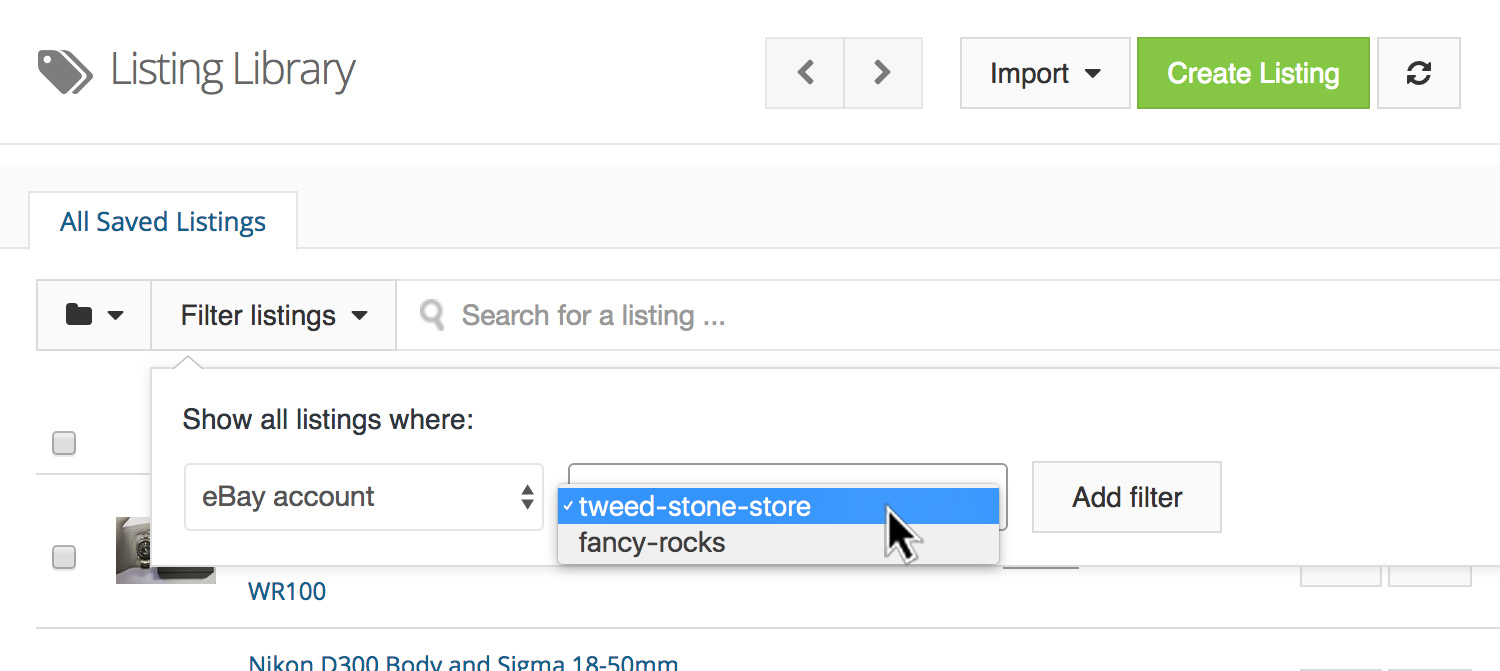
In your listing library, filter your view to show only one account's listings.
After clicking "Add Filter" to confirm your selection, the list will be narrowed to show only listings for the source account. You can add additional filters to help you to narrow your selection down even further.
Move Listings Individually
Now that you have a list of items that need to be moved, it's time to tell inkFrog where to move them. To do this one listing at a time, follow these steps:
Open a listing for editing.
Find and change the "eBay Account" drop-down to indicate that the listing should be associated with a new eBay account.
Slick "Save" to save your changes.
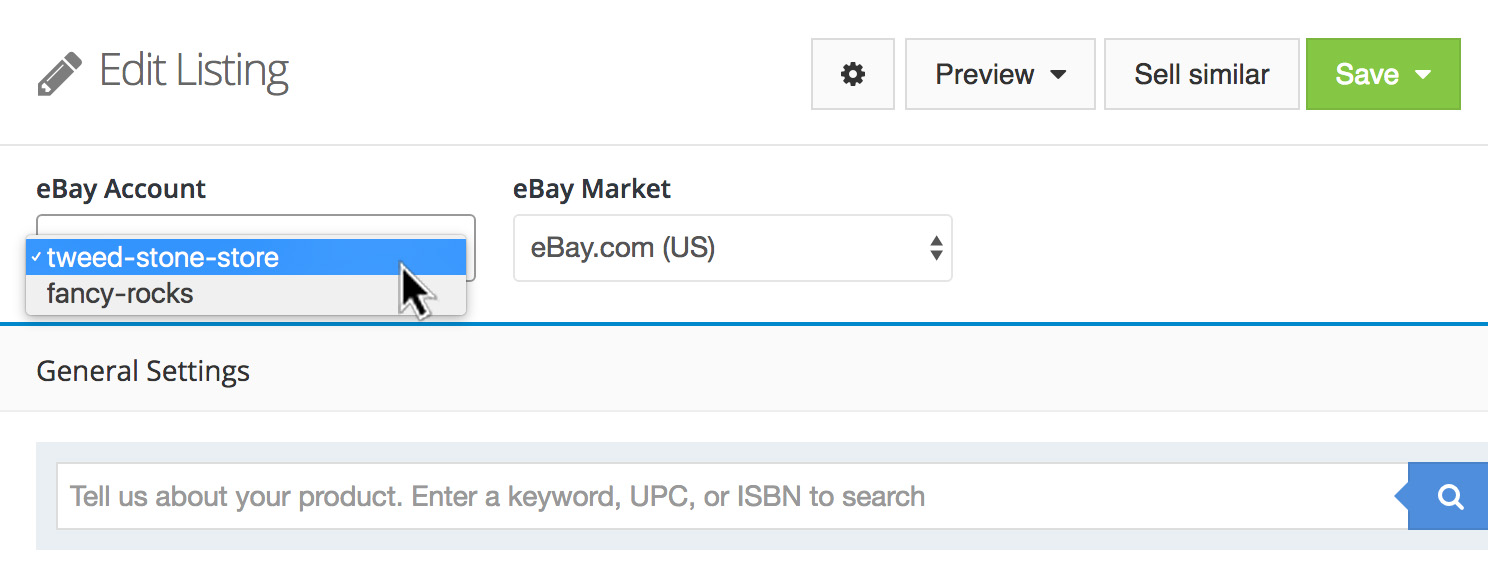
Use the listing editor and the "eBay Account" setting to change listings one at a time.
Move Listings in Bulk
To associate multiple listings to a new eBay account all at once, first select the listing(s) you'd like to move. Click the checkbox in the header, at the upper-left of the list, to select all currently shown listings.
Then, click "Bulk Actions" → "Listing Actions" → "Assign eBay account" to tell inkFrog that you'd like to associate the selected listings with a new eBay account.
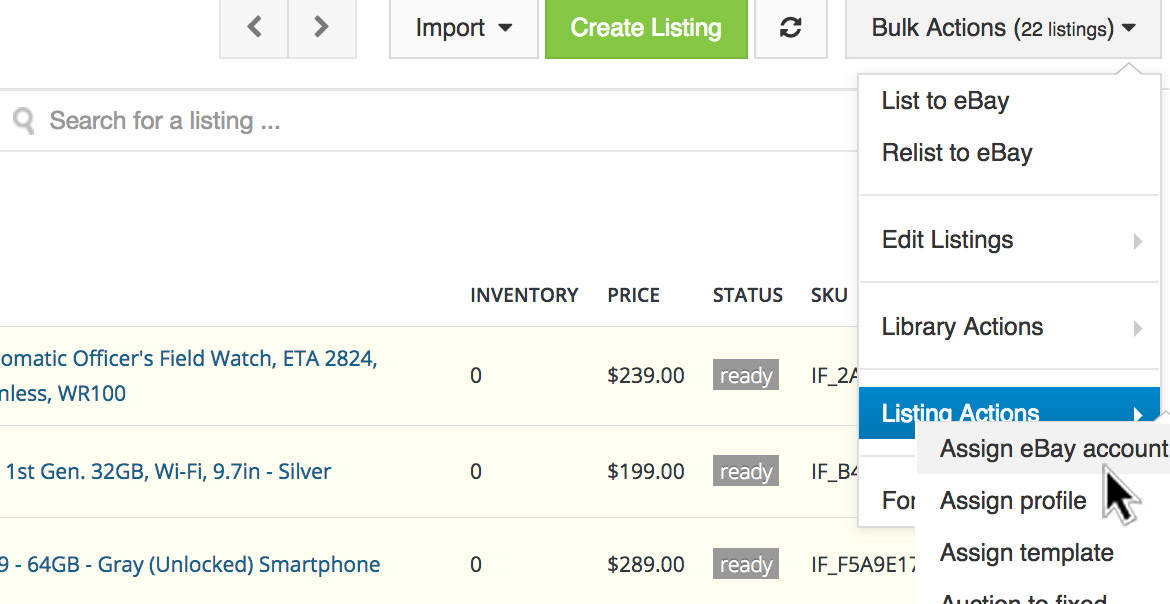
Select the listings to move, then use "Assign eBay account" to move them.
You'll be shown a list of all of the listings you selected, along with a drop-down to select a new eBay account for each listing.
Change these one by one if moving to variety of new eBay accounts, or use the "Change All" row at the very top of the page to associate all of the listings shown to a new eBay account in one go.
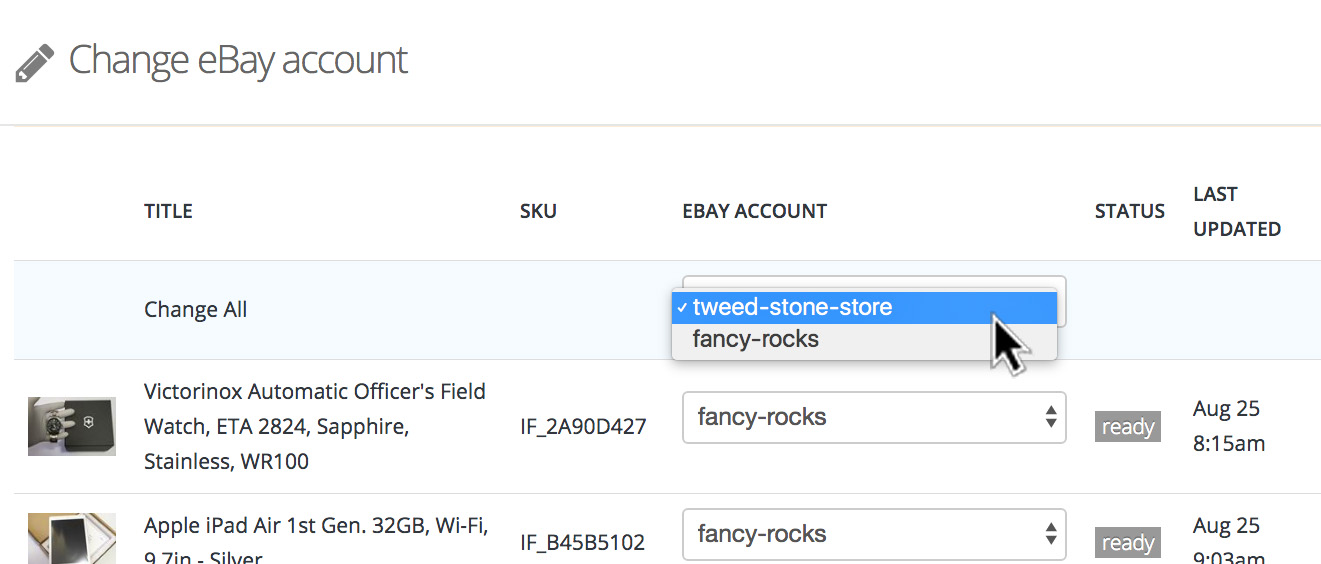
Change listings one by one or change them all using the "Change All" drop-down.
It's That Easy
If you've become accustomed to performing this task manually using eBay tools, seeing how easy it is with inkFrog has probably inspired you to go and start making all the changes you've been putting off.
If you don't have an inkFrog account but you do have a bunch of listings that need to be moved, you should probably get an inkFrog account now!
Share this article:


Join the Newsletter
Get started for free today!
Try it free
Join the 200,000+
using inkFrog!