Product image workflows can take a lot of time, particularly if you're concerned about representing your products well (which you should be).
But you can be making things a lot harder on yourself if you're not taking advantage of the tools that inkFrog offers.
For example, too many sellers have an image workflow like this:
- Take pictures with high-end camera
- Transfer from camera to computer
- Load into Photoshop
- Edit contrast and color
- Crop appropriately
- Resize down for eBay
- Save
- Upload to eBay or inkFrog
But you can shorten this significantly with a few camera tweaks and by using what inkFrog and your camera already have to offer. Here are some tips.
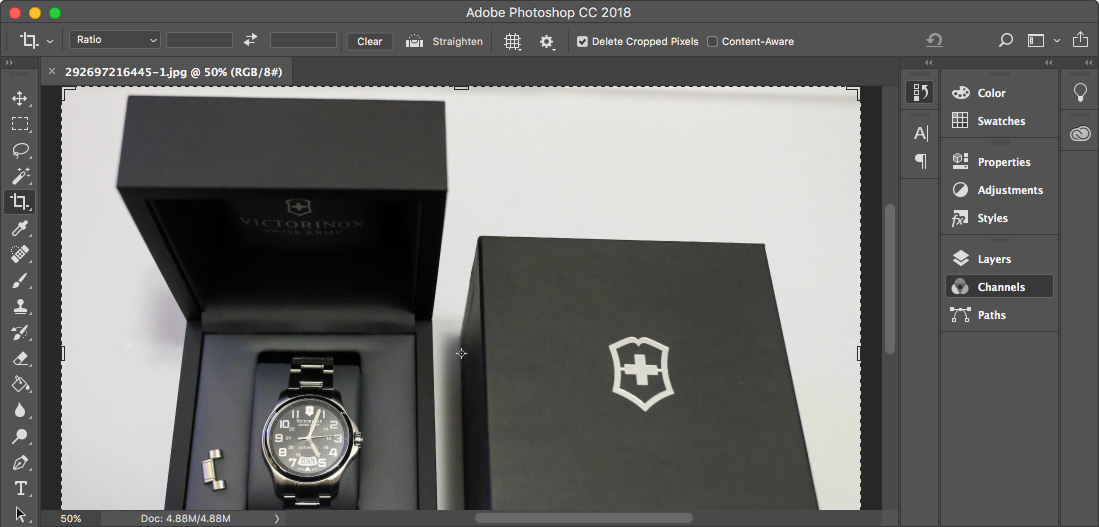
Are you spending time on long image workflows with heavy editors like Photoshop? Don't. Just use inkFrog.
Set your camera and lighting up properly.
Set up a small photography working space somewhere with a surface, backdrop, and lighting that will result in great product photos. Usually this means a bare, white background and diffused illumination from multiple angles.
Don't think that since you don't want to set up a full-fledged photo studio, you can't do better than cluttered snapshots. Take twenty minutes to establish a clean, uncluttered area and to experiment with lights. You'll be surprised at what you can accomplish with things on hand and a little ingenuity.
Then, change your camera's image quality settings so that your images are sized properly straight out of the camera. Twenty or thirty megapixels is just too much for e-commerce work—you're not making posters or billboards.
Instead, set the camera for a horizontal resolution between 2,000 and 3,000 pixels and a medium or low quality (i.e. stored image size) setting, so that you don't have to resize and re-save later before uploading.

Believe it or not, you don't need this.
Approximate it with a clean table and shaded lamps—or window light.
(Image: Nataliya Kuznetsova / Dreamstime)
Upload straight to inkFrog and edit there.
Rather than inserting additional steps and heavy applications like Photoshop into your workflow, use the image editing tools built into inkFrog. Once again, you don't need to do gallery quality artwork for online sales, so there's no reason to get buried in Photoshop or other similar programs.
Notice the edit button to the far right of images that you've uploaded to inkFrog. Click it and you'll find most if not all of the image editing tools that an online seller will ever need, tailored for purpose and all in one place.
Pay special attention to these:
Crop. Use this tool to trim out unneeded extra space around the outside of your image, so that only the product and important details are represented.
Transform. Use this tool to rotate your images if necessary, either in 90-degree chunks or by clicking and dragging until you get the rotation just right and the image is perfectly straight.
Draw and Text. Use these tools to add annotations to your images if they are needed. Just remember not to use them to add contact information, as that's against eBay rules.
Filter. If your image is "flat" looking, too dark, or the white balance is off (i.e. "weird" color or a color cast), clicking “Filter” opens a new menu full of options to help fix these problems produce a photo that's more appealing.
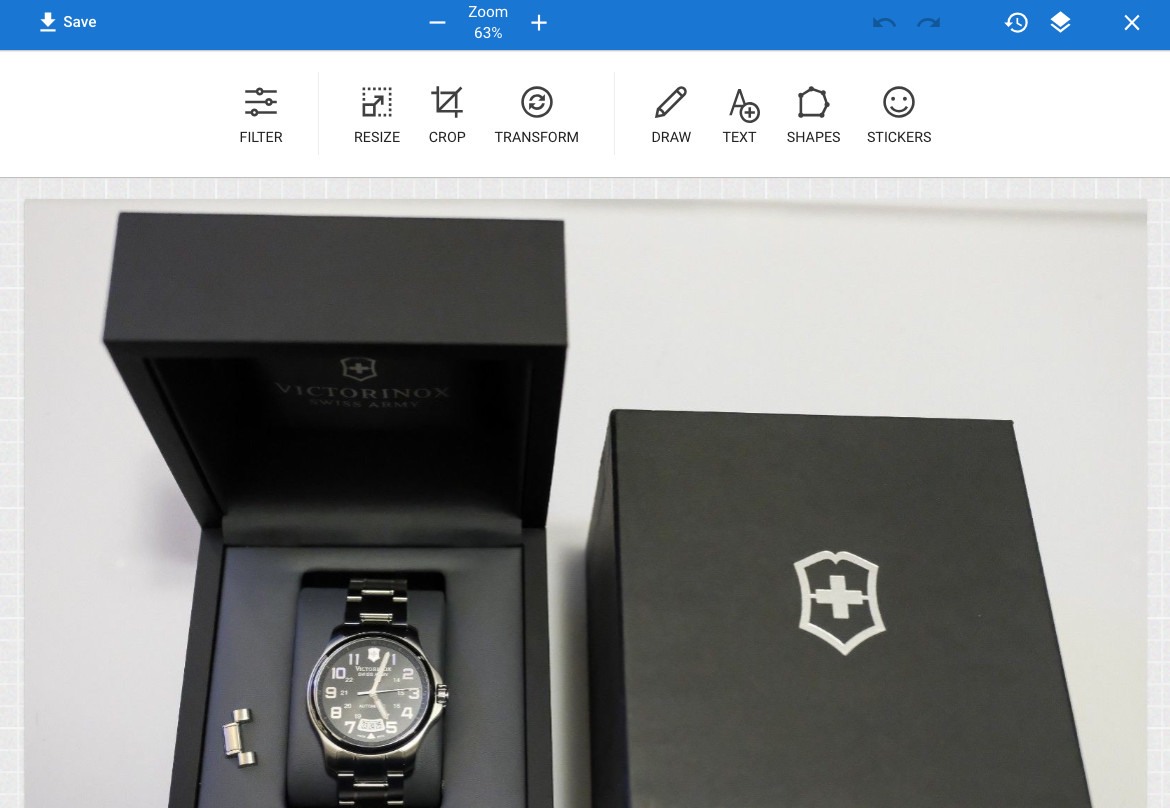
inkFrog's built-in tools offer all the adjustments needed for most e-commerce images, without all the extra steps and baggage.
There are a dizzying number of tools in the Filter menu, but here are some of the most useful. The best way to learn about how each of them affects an image to experiment.

Inside the Filter menu, click on a tool to apply it. For tools with fine-grained adjustments, click on a tool, then on the gear icon to access further options.
Sharpen. Click this tool once to make your image sharper—with better defined edges—than before. Click it a second time to remove the sharpening effect.
Brightness. Use this tool to either lighten dark images or to bring definition back to images that are too light. To use it, click the tool, then click the gear icon, the move the slider until you achieve the look you prefer.
Gamma. Use this tool to remove color casts in your image. To use it, click the tool, then click the gear icon. You'll see three sliders, one each for red, green, and blue. Move these sliders up or down to adjust the strength of each primary color in your image until the color cast is gone.
Remove. Use this tool to remove a particular color from your image (these areas will become white instead). To use it, click the tool, then click the gear icon. Select a color you'd like to remove, then move the slider right or left to determine how much of the color to remove.
When you're done making adjustments to each image, click "Save" to save the results directly in place, already inside inkFrog and ready for upload.
Fast, easy, and with great results.
By setting your lighting and camera up carefully to begin with, then uploading immediately to inkFrog and making any needed changes there, you'll speed your product images workflow up by a massive margin.
Loading Photoshop or another image editor doesn't seem like a problem if you just have two or three images to polish—but by image 100 (or 200, or 300) you'll be thrilled with inkFrog's image editing workflow—and the bunches of time it saves you.
Don't have inkFrog? Probably time to try it.
Share this article:


Join the Newsletter
Get started for free today!
Try it free
Join the 200,000+
using inkFrog!